Monday, March 11, 2019

Unicorns Are Awesome PTU Tut

Supplies Needed:
PSP: I used PSP9, but any version should do.
 Kit of Choice: I used HPS Kit 22 2019 by Happy Pumpkin Studio. You can buy it here.
 Tube of Choice: I used a tube by Julia Fox. Please do not use without the proper license!
Mask of Choice: I used  Mask-1. I am not sure where I got this. If it belongs to you please let me know!
 Font of Choice: I used Unicorns Are Awesome. You can find it here.
Wordart by Me
(Just right click and save)
 
 
Let's get started!
 
New canvas 600X600
Copy & paste hpsK22frame (6) as a new layer
Resize 70%
Free rotate Left 15.00
Copy & paste hpsK22paper (2) as a new layer
Resize 45%
Move below Frame1
Free rotate Left 15.00
Select inside hpsK22frame (6) with magic wand
Selections Modify Expand by 5
On paper layer invert selection
Delete & deselect
Copy & paste tube
Resize as needed & place to right side of frame
Copy & paste wordart
Move to bottom Left of frame
Copy & paste hpsK22ele (4)
Resize 35%
Position to left behind frame
Erase any parts showing outside of frame
Lower opacity to 65%

Copy & paste desired elements
I used the following:

hpsK22ele (137) Resized 65%
Duplicate & Mirror
hpsK22ele (34)  Resized 45%
hpsK22ele (11)  Resized 45%
hpsK22ele (14)  Resized 25%
hpsK22ele (84) Resized 35%

Drop shadow where desired

Copy & paste paper of choice 
Apply mask & merge group
I resized mine 90% & added noise

Crop & resize if desired
Add name & copyright
Save as a .png & you're done!

I'm Back

I'm back! I didn't realize I'd been gone so long! Life has thrown alot at me the last few years, but things are finally back on track. I will be uploading a new tutorial around 10 tonight. It's PTU. And I plan on posting tutorials at least once a week while working on new scrapkits. If you're reading this, THANK YOU!

Sunday, March 8, 2015

Spring Song FTU Kit

Sorry I've been MIA for so long! Between work, school and home I've been stretched pretty thin.

I have a new Spring kit for you today. Just click the preview to download.

https://app.box.com/s/a6o58600qm6ob5jsgo0087qxsbeos2x3

If you download, please leave a comment.
 I would love to see anything you make with my kit! If you would like to share just send them to me: sherenassweettreats@yahoo.com

Friday, August 8, 2014

Beach Life PTU Tut

Supplies Needed:
PSP: I used PSP9, but any version should do.
 Kit of Choice: I used Shellina by Irish Princess Designs. You can buy it here.
 Tube of Choice: I used a tube by PinUpToons. You can find it here. Please do not use without the proper license!
Template of Choice: I used  Temp176 by Amy & Leah. You can find it here.
Mask of Choice: I used  FM1 mask. I am not sure where I got this. If it belongs to you please let me know!
 Font of Choice: I used I used Surf Safari. You can find it here.
 
Let's get started!
 
 Open template
Shift+D to duplicate
Close original
Delete copyright layer
Canvas size 600X600
Replace each layer with paper or element of choice
I used the following:
words 1: adjust to #ecf2f0; inner bevel
words 1 back: adjust to #272823; DS
words 2:adjust to #ddddc4
words 2 back: adjust to #272823; DS
words 3: adjust to #7c9b99; select all, float, defloat & apply Eye Candy 5: glass (watery setting)
words 3 back: adjust to #272823; DS
1: IPD_Shellina_19; resize 35% & DS
2: IPD_Shellina_79; mirror, resize 35% & DS
3: IPD_Shellina_18; mirror, resize 35% & DS
4: IPD_Shellina_Paper3; adjust color to match words 3; apply eye candy gradient glow & DS
5: IPD_Shellina_Paper5; apply eye candy gradient glow & DS
6: IPD_Shellina_Paper4; apply blinds twice (horizontal & vertical); apply eye candy gradient glow & DS
7: IPD_Shellina_Paper7; adjust color to match words 3; apply eye candy gradient glow & DS

(C/P all elements as new layers)
IPD_Shellina_6: resize 35%, duplicate & mirror
IPD_Shellina_39: resize 55%, duplicate & merge down; flip, duplicate, mirror & merge down
IPD_Shellina_80: resize 45%, duplicate, mirror, merge down & resize 90%
IPD_Shellina_58: resize 70%
IPD_Shellina_74: resize 25%
IPD_Shellina_90: resize 25%
IPD_Shellina_70: resize 20%
IPD_Shellina_68: rsize 65%, duplicate & mirror
tube: resize if needed

Add DS where desired

C/P paper of choice as bottom layer
Apply mask & merge

Crop & resize
Add name & copyright
Save as .png & you're done!

I would love to see your results! If you would like to share just send them to me: sherenassweettreats@yahoo.com

Tuesday, July 29, 2014

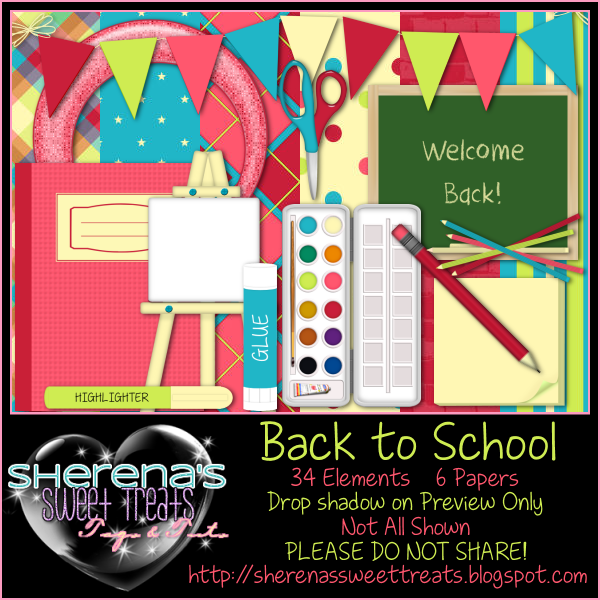
Back to School FTU Kit

This kit was suppose to be part of a blogtrain, but I never got it posted. To download just click the preview.

https://app.box.com/s/j2q2r8jxuya3tyl0vdwm

If you download, please leave a comment.
 I would love to see anything you make with my kit! If you would like to share just send them to me: sherenassweettreats@yahoo.com

Daisy Girl PTU Tut

Supplies Needed:
PSP: I used PSP9, but any version should do.
 Kit of Choice: I used Peace & Daisies by Scrappin Krazy Designs. You can find where to buy it here.
 Tube of Choice: I used a tube by Caron Vinson. You can find it here. Please do not use without the proper license!
Mask of Choice: I used  Vix_BigMask019. You can find it here.
 Font of Choice: I used I used Xiomara. You can find it here.
 
Let's get started!
 
New canvas 600X600
(C/P all elements as new layers)
ele60- resize 65%
select inside with magic wand
expand by 5
C/P paper of choice (I used p14) under frame layer
invert selection & delete
C/P close up of tube under frame layer
position & delete
deselect
change blend mode & opacity
C/P tube- resize if needed
place on left side of frame
ele46- resize 65%
duplicate & mirror
merge down
duplicate a few times & arrange
ele70- resize 35%
ele20- resize 35%& mirror
ele45- resize 30%
ele02- resize 35% & free rotate right 15
ele21- resize 65% & mirror
duplicate & mirror

Add DS

C/P paper of choice (I used p09)
apply mask & merge
resize 90%
 
Crop & resize
Add name & copyright
Save as .png & you're done!

I would love to see your results! If you would like to share just send them to me: sherenassweettreats@yahoo.com

Tuesday, March 11, 2014

Sweet PTU Tut

Supplies Needed:
PSP: I used PSP9, but any version should do.
 Kit of Choice: I used So Bitter Sweet by Sam's Scraps. You can buy it here.
 Tube of Choice: I used Snow Angel by Verymany. You can  find it here. Please do not use without the proper license!
Mask of Choice: I used WSL_Mask84 here.
  Font of Choice: I used I used Xiomara. You can find it here.
Let's get started!
 New canvas 600X600
C/P 3LH12 - SBS Frame 5
Resize 45%
Select inside with magic wand
Expand by 3
C/P paper of choice under frame layer
(I used 3LH12 - SBS Paper 18)
Invert selection, delete & deselect
C/P closeup tube above paper
Resize if needed & arrange inside frame
Erase any parts showing outside of frame
Change blend mode to Luminance(Legacy) & opacity to 45
DS frame & merge visible
Move to left
C/P tube
Resize if needed (I resized & mirrored mine.)
DS tube

To make the rug:
Select the Ellipse Tool
Mode: Draw Ellipse
Foreground: Null Background: any color
Draw out an oval the size you want your rug
Horizontal center & Convert to Raster
Apply Eye Candy 5:Textures Animal Fur
Settings- Dalmation, Low Coverage
Pattern- Base Color: #ffcddc Spot Color: #ffcddc
Leave everything else the same


C/P elements of choice
I used the following:
3LH12 - SBS chocolates: resize 25%
3LH12 - SBS present: resize 45%
3LH12 - SBS plush bunny: resize 35%
3LH12 - SBS string: resize 45%
3LH12 - SBS flower 8: resize 10%
3LH12 - SBS flower 1: resize 15%; duplicate & mirror
3LH12 - SBS cocktail glass: resize 25%

DS elements

C/P paper of choice (I used 3LH12 - SBS Paper 13.)
Apply mask & merge group
Mirror

Crop & resize
Add name & copyright
Save as .png & you're done!

I would love to see your results! If you would like to share just send them to me: sherenassweettreats@yahoo.com